
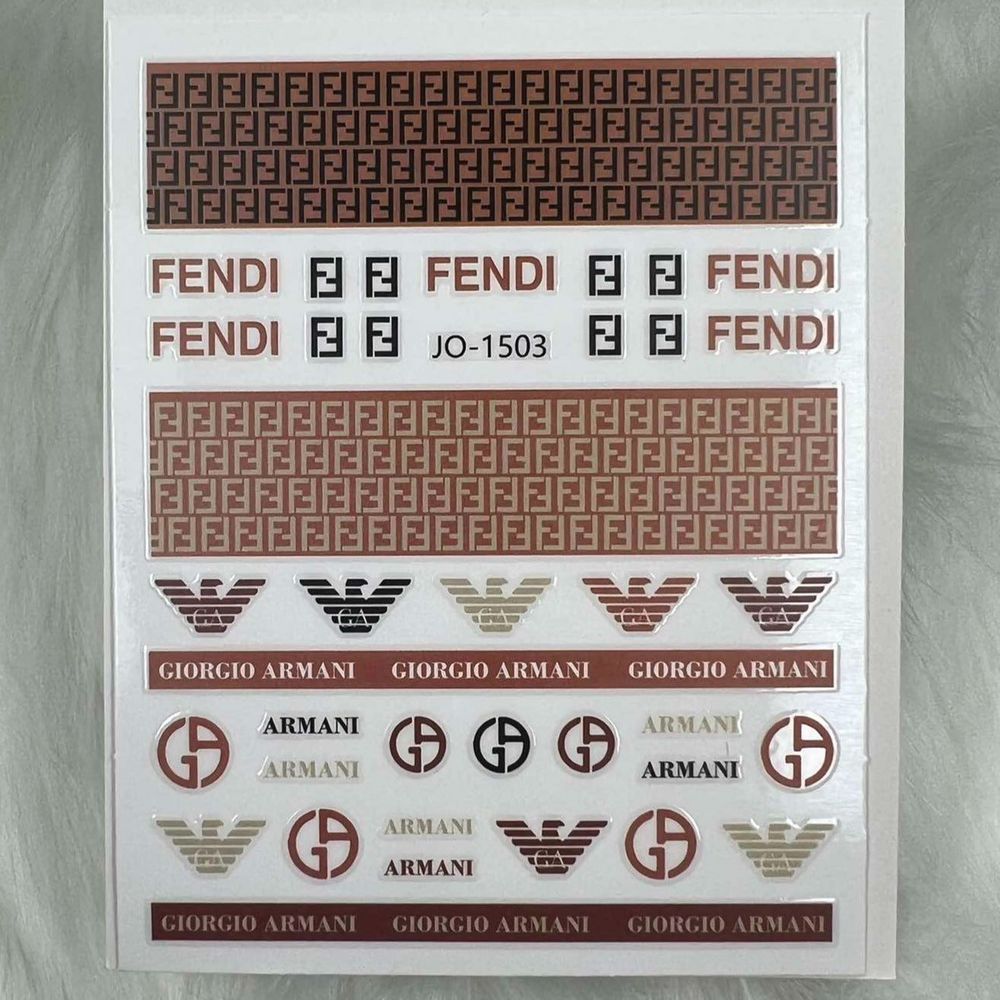
Designer logo nail stickers are a fast, low-commitment way to add branded-inspired detail to manicures. For beginners this type of nail art feels accessible: the stickers do most of the design work, so you can focus on prep and placement to get professional-looking results.
What exactly are logo nail stickers?
Logo nail stickers are small adhesive decals printed with logo-style motifs or marks intended for nail-scale application. They come on a carrier backing, and the basic use is to peel and place each sticker on the nail surface. These stickers are part of the broader nail sticker category and are often used to mimic designer-inspired graphics in miniature.
Why try them as a beginner?
For people new to nail art, logo stickers reduce the technical skill required for crisp details like lettering or tiny emblems. They allow you to experiment with placement, layering and topcoat techniques without mastering freehand painting. If you’re building a starter kit, consider adding these logo nail stickers to your supplies for quick accents that elevate simple manicures.
Tools and basic prep
- Clean nails: remove polish or oils with nail polish remover.
- Trim and shape: file nails to the desired shape and gently push back cuticles.
- Smooth the surface: a light buff evens the nail plate so stickers adhere better.
- Optional base: apply a base coat or a thin layer of the polish color you want under the sticker and let it dry fully.
Step-by-step application
- Choose the right size. Match the sticker to the nail width—trim with small scissors if needed.
- Peel gently. Use tweezers or a clean nail pick to lift the sticker from its backing; avoid touching the adhesive surface.
- Position on the nail. Place the sticker where you want it, starting near the cuticle and smoothing toward the tip to remove air pockets.
- Press firmly. Use a silicone tool, orangewood stick, or fingertip to burnish the sticker so it sits flush with the nail plate.
- Trim excess. If the sticker hangs over the free edge, gently file the tip in a downward motion to remove excess material.
- Seal with topcoat. Finish with one or two layers of clear topcoat to protect the sticker and smooth edges. Allow full drying time between coats.
Practical tips to improve longevity
- If you work with thin or flexible stickers, warm them slightly between your fingers to increase pliability before applying.
- Create a smooth base: stickers adhere best to a dry, oil-free nail. Avoid lotion or cuticle oil right before application.
- Apply topcoat across the entire nail and over the free edge to reduce lifting. Reapply a thin topcoat every few days to extend wear.
- For a more subtle look, place the sticker on an accent nail rather than every finger.
Key features in context
- Instant detail: Achieve complex logo-style graphics without hand-painting.
- Easy application: Designed for peel-and-place use—suitable for quick manicures at home or in a busy salon setting.
- Affordable: Priced from $1.99, they’re a low-cost way to experiment with looks without committing to long-term treatments.
Who should use these stickers?
Designer logo nail stickers are ideal for beginners, hobbyists, and professionals who want a time-saving accent option. They work well for anyone who likes a polished, branded aesthetic without the need for complex tools. Salon techs can also use a few stickers to offer clients a premium-looking accent quickly.
Care and safety notes
- Do not apply stickers to damaged or infected nails — wait until nails are healthy.
- Avoid getting adhesive on skin; remove gently with oil or an adhesive remover if needed.
- Store stickers flat and away from heat or moisture to preserve adhesive quality.
- If irritation occurs, remove the sticker immediately and discontinue use on that nail.
Quick troubleshooting
- If the sticker lifts at the edges, file the edge and reseal with topcoat.
- Wrinkles can often be smoothed out by carefully lifting the sticker and reapplying, or by smoothing with a burnishing tool and applying topcoat.
- For very small stickers that are hard to handle, use anti-static tweezers to improve grip.
Conclusion
Designer logo nail stickers are a beginner-friendly route to detailed, fashionable nail art. With simple prep, careful placement and a protective topcoat, you can achieve neat, branded-inspired accents quickly. If you want an easy upgrade to your manicure routine, try a sheet of these stickers and experiment with placement, base colors and layering. Dynamic Nail Supply carries budget-friendly options to get you started.