
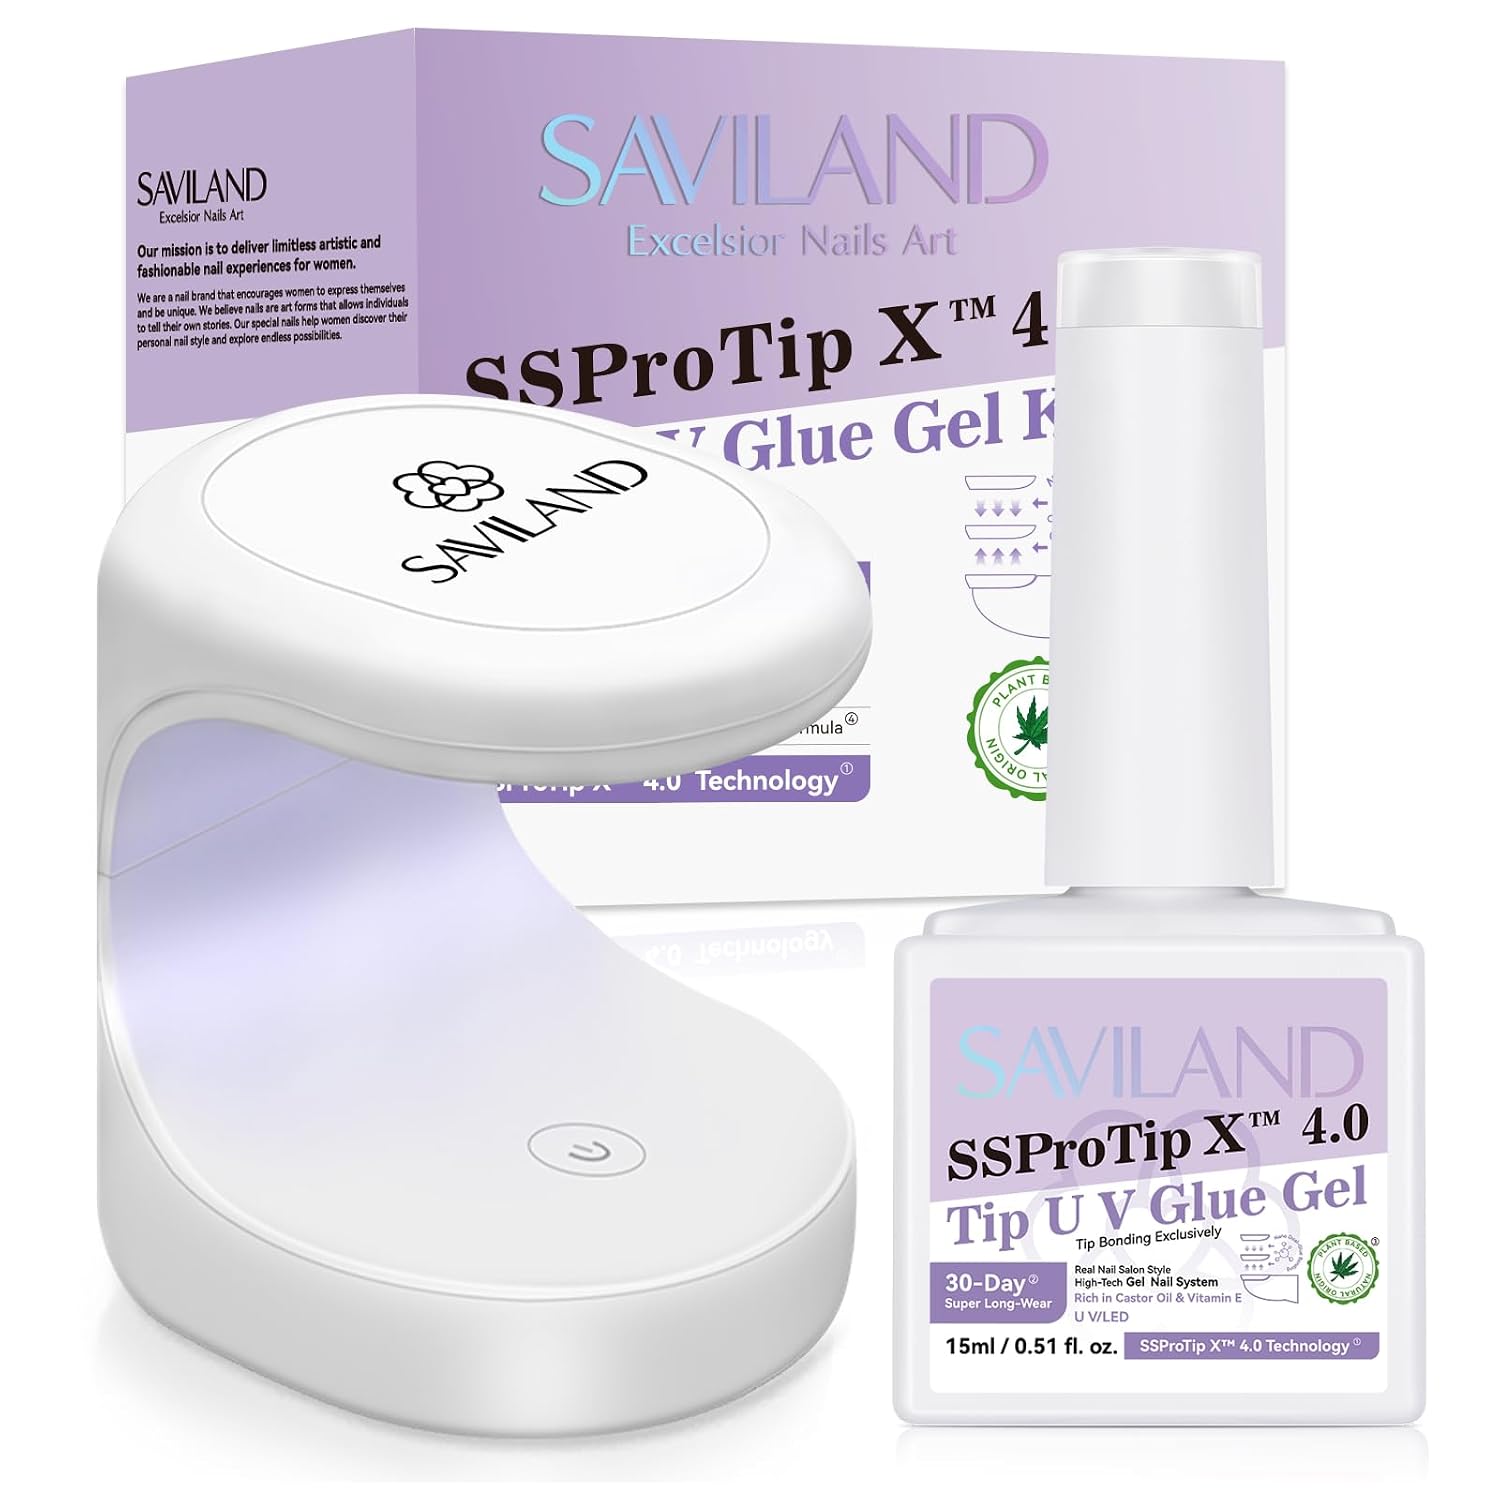
Gel nail glue kit options aim to simplify at-home extensions by combining adhesive gel and a curing light into one starter package. This kit includes a 15 mL bottle of low-odor gel and a plug-in mini UV/LED lamp with a built-in timer. Below you’ll find a clear, practical guide to what’s in the kit, how to use it, what it’s best suited for, and important safety and storage information.
What’s included and who it’s for
The kit contains a 15 mL bottle of gel adhesive formulated from natural resins, plus a pocket-sized plug-in mini UV/LED lamp. The lamp is a simple one-button device with a 60-second timer that delivers a rapid flash cure for a variety of gel products. This set is designed specifically for soft gel tips and press-on nails, making it a convenient choice for beginners or DIY enthusiasts who want to create salon-style extensions at home.
Key features explained
15 mL low-odor gel
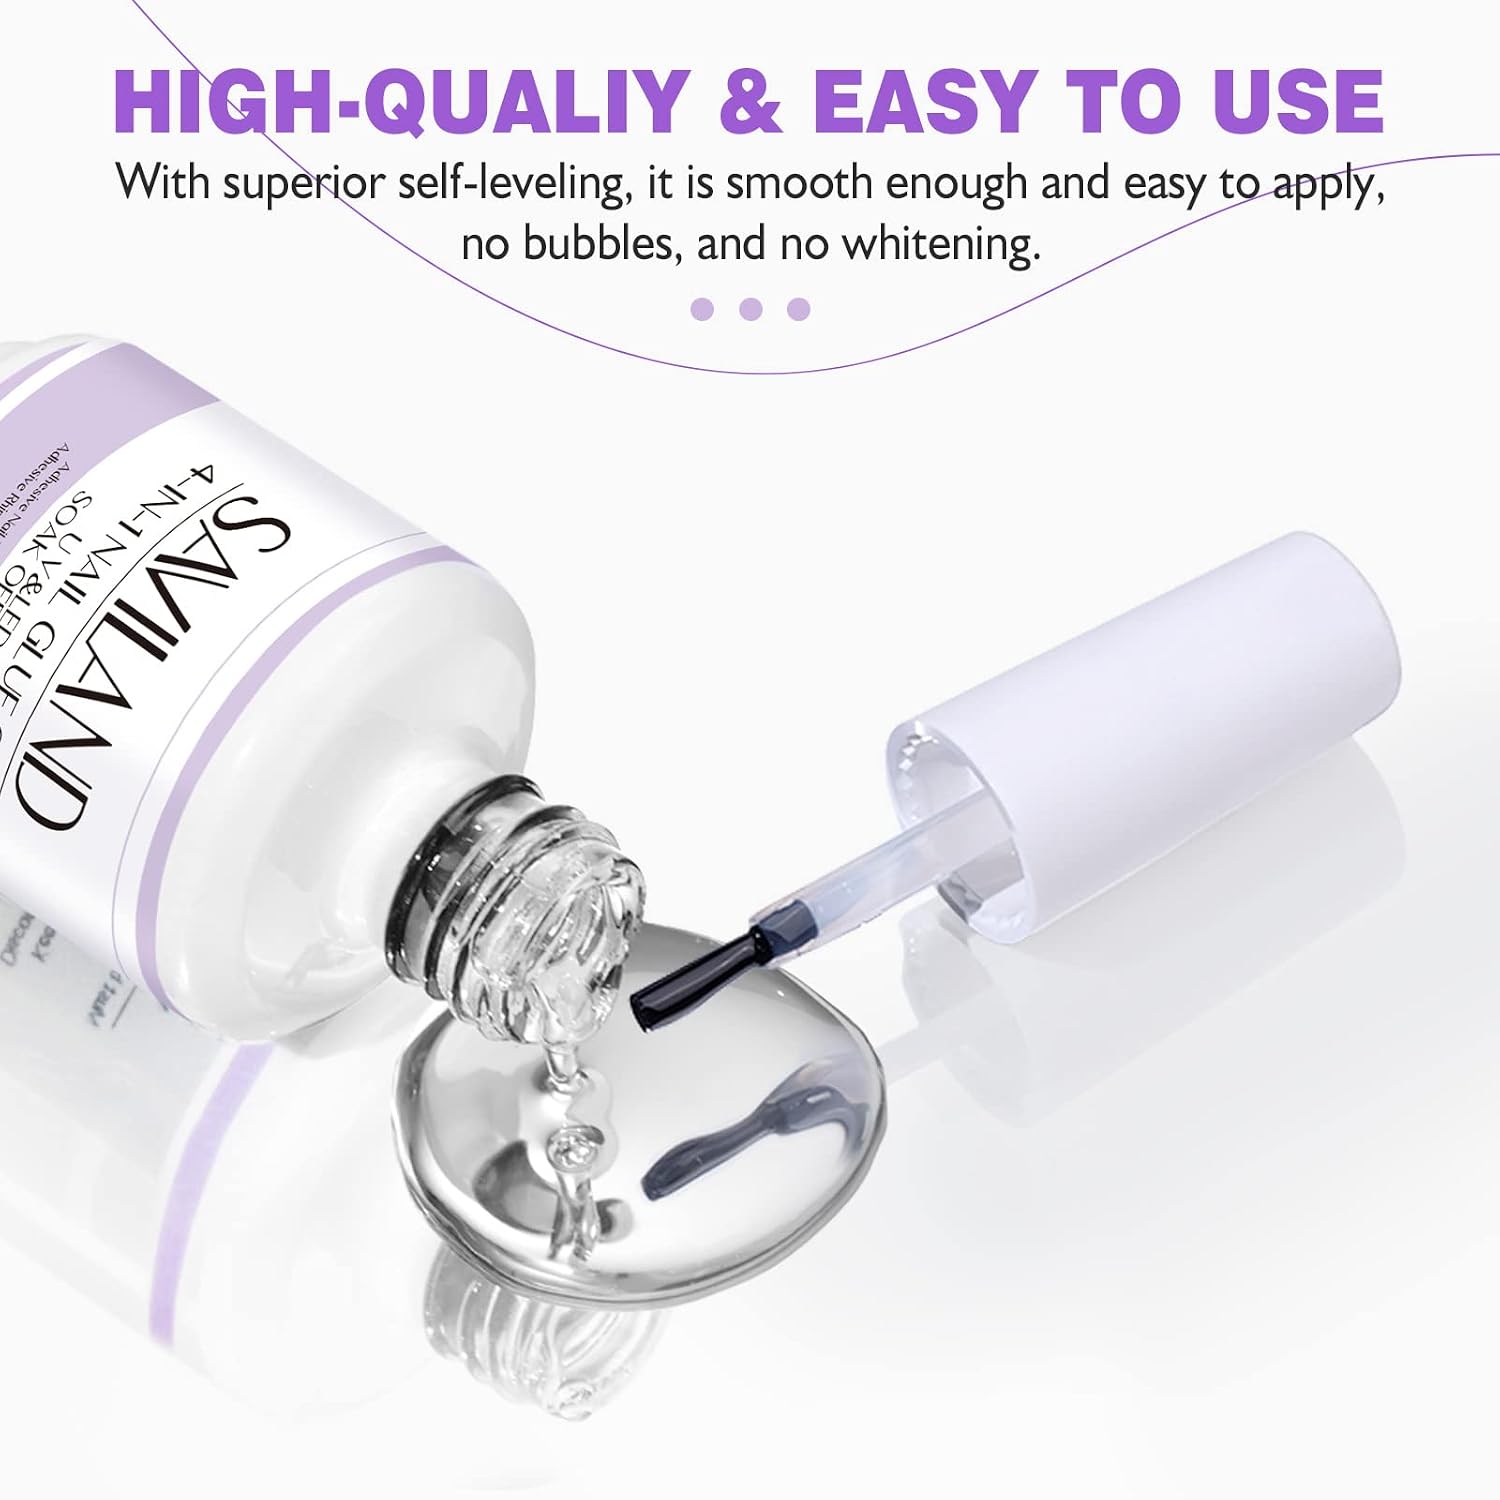
- Natural resin formula: The gel is made from premium natural resins and is described as low-odor and bubble-free.
- Long wear: When cured, the adhesive is intended to provide durable hold for over three weeks without lifting.
- No white cast: The cured finish reportedly does not leave an unwanted white cast on the nail surface.
Mini plug-in UV/LED lamp
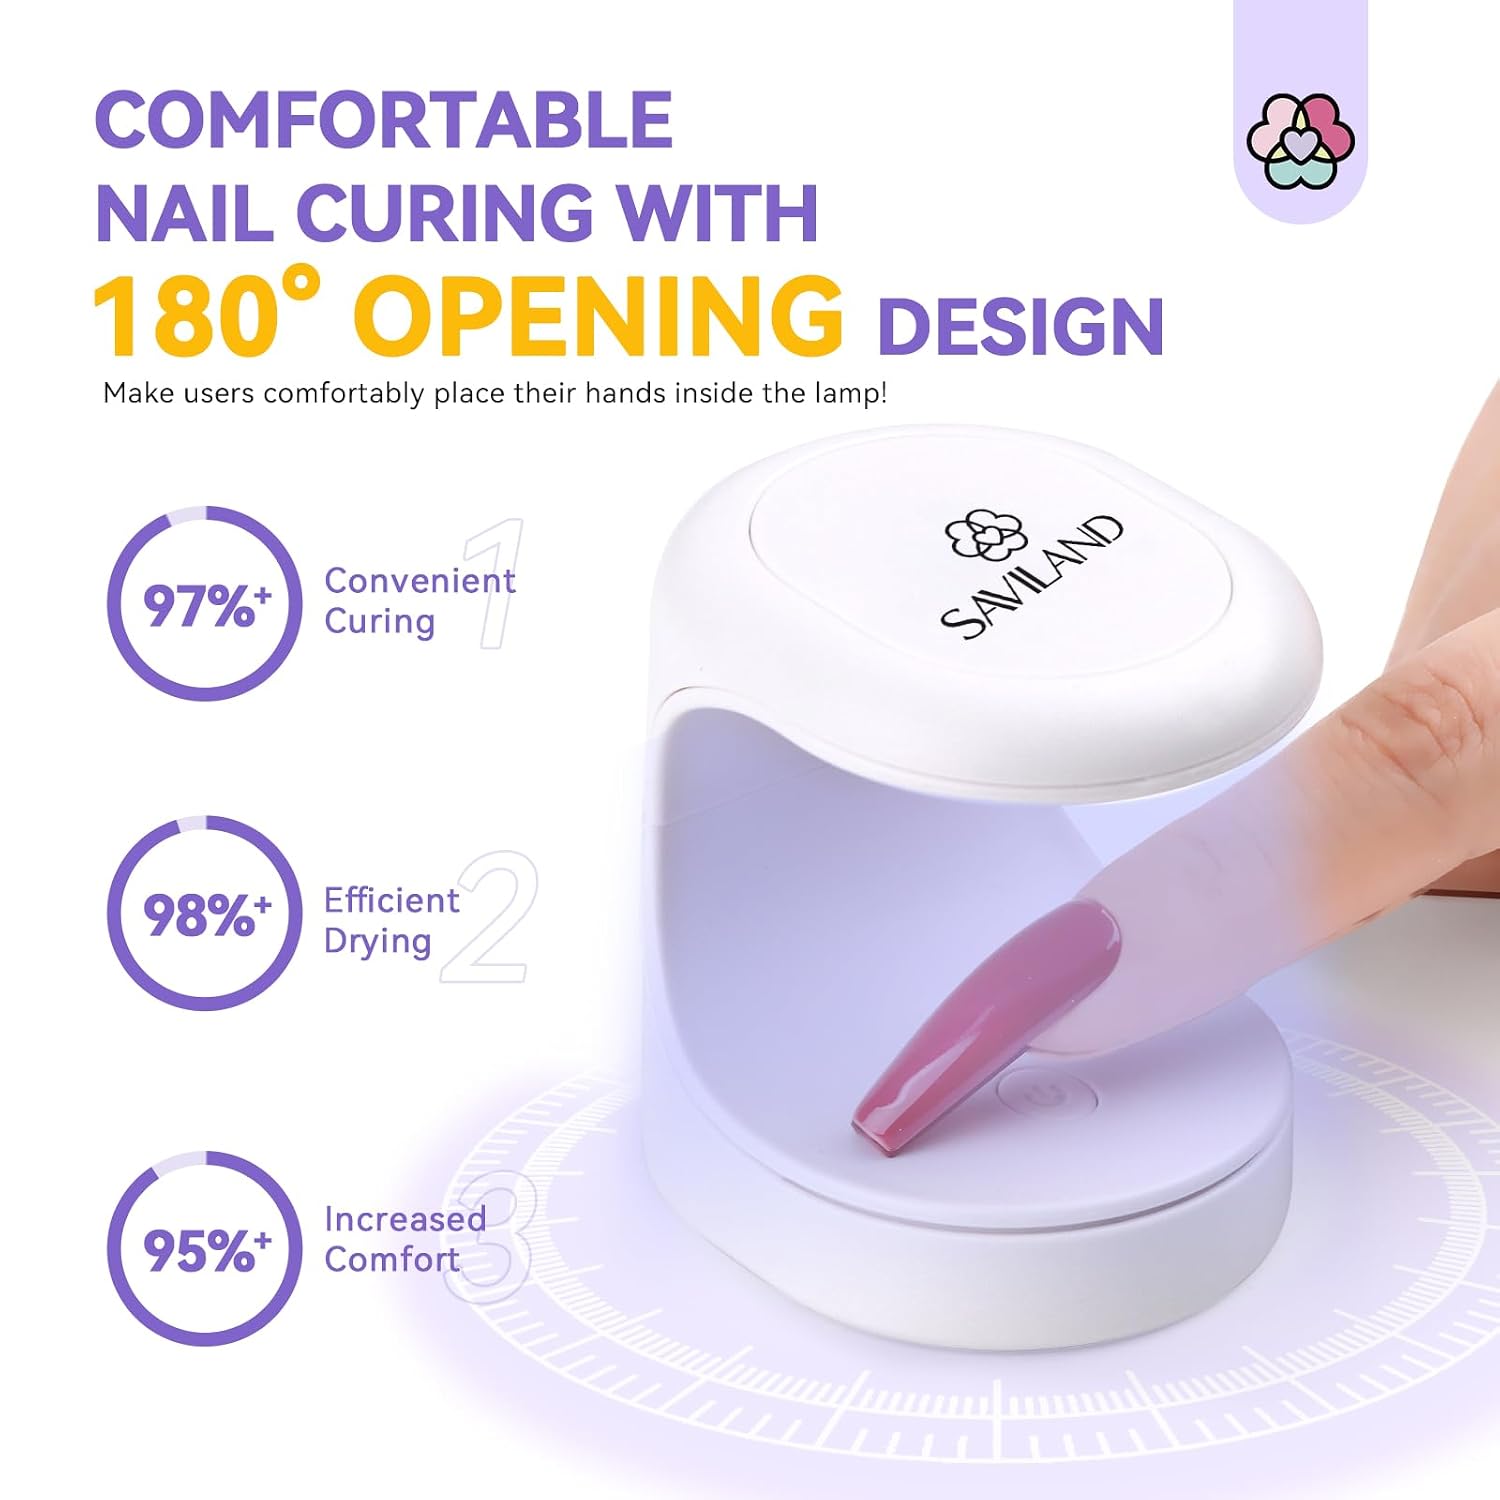
- Compact and travel-friendly: The lamp’s pocket-sized design makes it easy to store or pack for trips.
- One-button operation: A single control with a built-in 60-second timer simplifies curing steps.
- Versatile curing: The lamp is described as capable of curing glue gel, gel polish, builder gels, and top coats.
Practical step-by-step use guidance
Follow these steps to apply soft gel tips or press-on nails with the kit’s adhesive and lamp. These are practical, general steps based on included prep and use recommendations.
- Prep the natural nail: Buff the surface lightly and cleanse to remove oils and debris. Proper prep improves adhesion.
- Fit the tip or press-on: Select an appropriately sized tip or press-on for each nail and test the fit before applying adhesive.
- Apply a thin layer of gel adhesive: Dispense a small amount and spread evenly on the natural nail or on the tip as directed by the tip manufacturer.
- Position and hold: Place the tip or press-on, press down firmly to seat it and remove excess adhesive around the edges.
- Cure under the lamp: Use the mini UV/LED light and run the 60-second cycle to flash cure the adhesive. Ensure each nail receives full exposure under the lamp.
- Finish touches: If needed, file and shape the extension, then add top coat or any desired nail decorations and cure again according to product instructions.
Key features in context: what they mean for you
The combination of a low-odor, bubble-free gel and a rapid flash-cure lamp is intended to make the application process cleaner and faster. A small lamp with a one-button timer reduces setup complexity, and the multi-use gel formula expands how you can use the product beyond attaching tips.
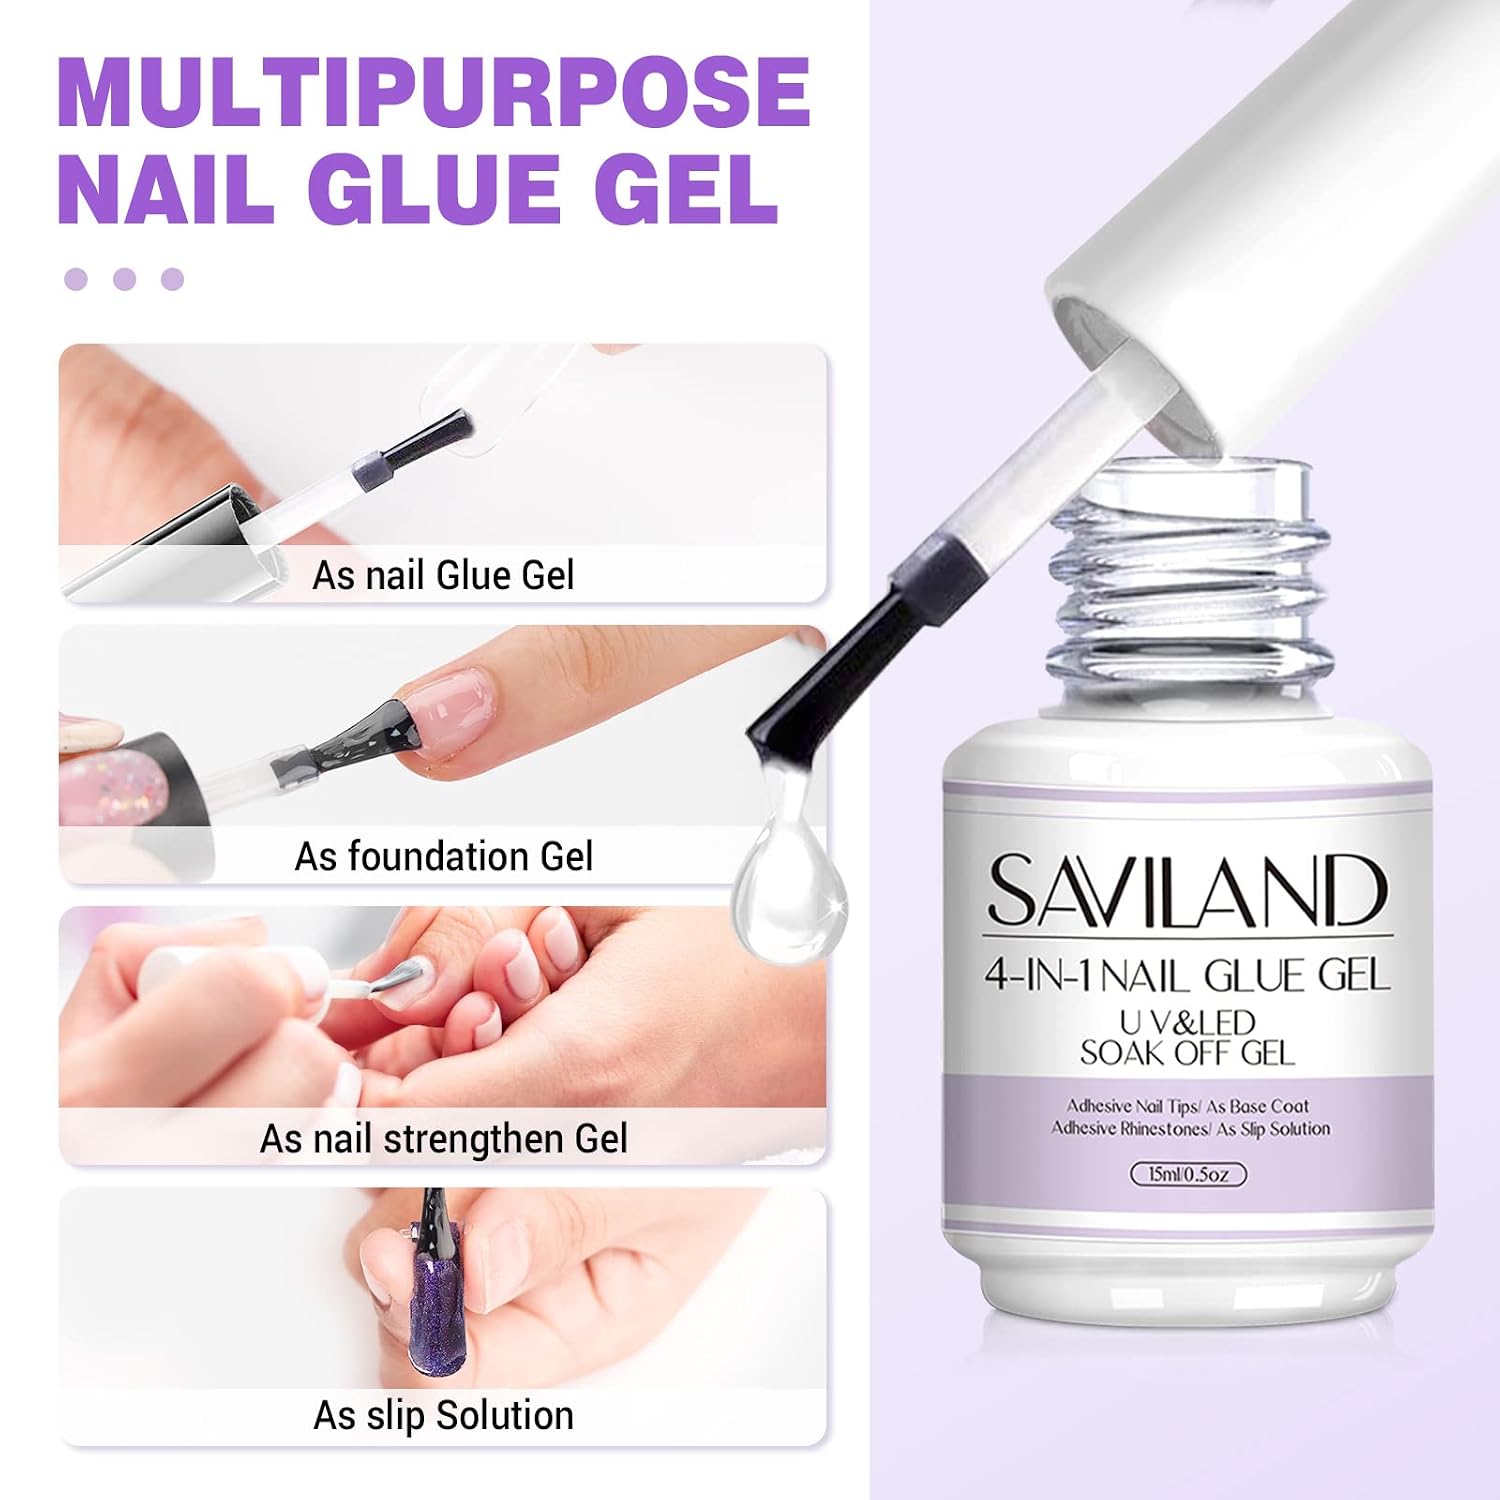
- Multi-use gel: The gel can act as a strong adhesive for tips and rhinestones, serve as a base coat, strengthen weak nails, or function as a slip solution when shaping poly gel.
- Durability: The gel’s formulation is described as offering heavy-duty hold for three weeks or more when properly applied and cured.
- Travel convenience: The lamp’s compact size makes it simple to take on the go or to use in small spaces where a full-size lamp would be impractical.
Limitations and suitable uses
This kit is tailored to soft gel tips and press-on nails. The lamp is noted to cure a variety of gel products, but specific compatibility with every brand or material is not detailed. Users should match curing times and methods to the gel products they pair with the lamp. The kit is presented as an entry-level solution, so those needing heavy-duty salon equipment or advanced customization tools may find it limited for professional-volume work.
Safety notes and storage
- Allergy test recommended: Perform a quick skin allergy test before regular use to check for sensitivity to the gel formula.
- Prep for best adhesion: Buffing and cleansing the natural nail surface to remove oils is advised for maximum hold.
- Proper storage: Store the gel away from direct sunlight to preserve its properties.
- Follow lamp usage guidance: Use the lamp according to its single-button, 60-second cycle. Ensure corded plug-in connections are secure and used with compatible outlets.
What to expect and troubleshooting tips
If adhesion issues occur, re-check nail prep steps and ensure nails were clean and dry before application. If lifting appears, verify the tip fit and make sure excess oils were removed. For any product-related concerns, the kit maker’s customer care is available to assist users seeking resolution.
Price note
This kit is listed at USD 12.34; prices may change.
Conclusion
For people starting with at-home nail extensions, this gel nail glue kit offers a compact pairing of a 15 mL low-odor adhesive and a plug-in mini UV/LED lamp with a 60-second timer. It is designed for soft gel tips and press-on nails and includes a multi-tasking gel formula that can also function as a base coat, strengthening layer, or slip solution for poly gel shaping. Follow basic prep steps, perform an allergy test, and store the gel out of direct sunlight to help ensure the best possible results. For routine DIY extensions or quick touch-ups while traveling, the kit provides a straightforward, space-saving option.